I’ve recently been getting deeper into backend development and cross-platform mobile using Kotlin Multiplatform. On the side, I’ve been playing with tools like n8n, setting up databases, and building small AI agents and automation workflows. Pretty quickly, I realized I needed a solid self-hosting setup where I could run everything, from simple web apps to AI agents, and backend services, without relying on multiple different platforms. I used Heroku and Vercel before, but for someone mostly working on hobby projects, their pricing and limitations didn’t make much sense long-term.
That’s when I found Coolify and set it up on a Hetzner VPS - simple, powerful, and fully under my control. Technically, you could host all of this on something like a Raspberry Pi, an old laptop, or whatever, but for now, let’s keep it on Hetzner.
So, let’s dive into the setup process.
Hetzner
As I already said, for our server we will use a Hetzner VPS, this one in particular:
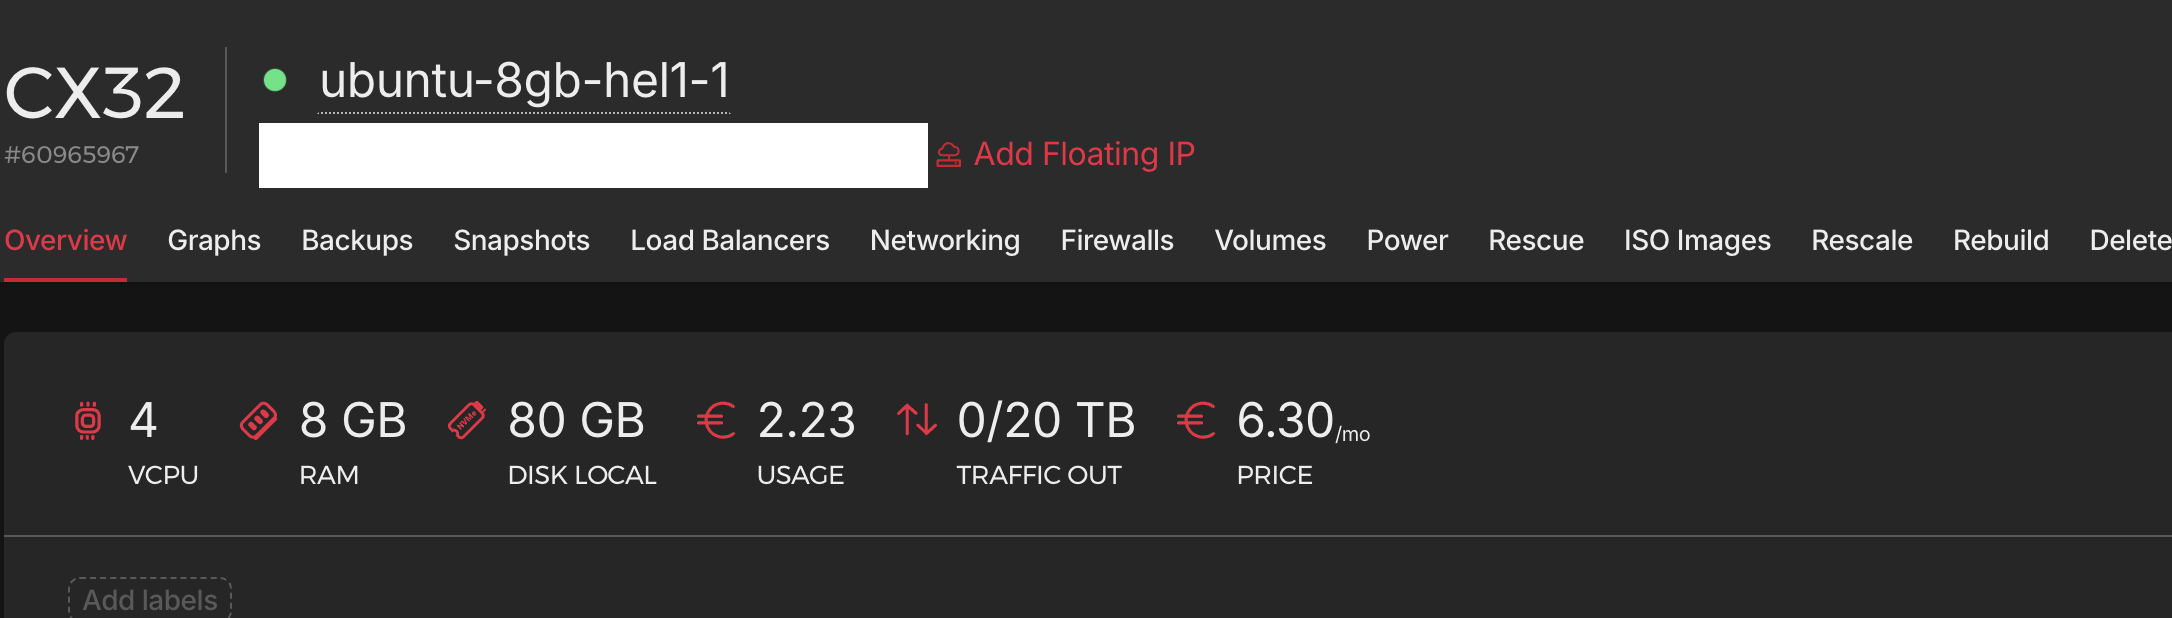
As you can see, it is a VPS with 4 vCPU, 8 GB RAM, and 80 GB SSD with 20 TB traffic included. This is more than enough for my needs. There are even cheaper options like CX11 starting from 4€ per month, but I think this is a good balance between price and performance. After you choose your machine, Linux version, and location, we can proceed. I chose Ubuntu 24.04 (latest) and Helsinki as the location.
VPS Setup
Once my Hetzner VPS was up, I connected via SSH using the root user. The first thing I did was update all system packages to ensure everything was up to date:
sudo apt update && sudo apt upgrade -y
Since I am not a Linux expert at all, I did some Googling and getting guidance from ChatGPT and found some best practices to secure my machine. First, I changed the default SSH port and disabled root login so I am only able to access my server via SSH.
sudo nano /etc/ssh/sshd_config
And changed the following lines:
Port #Some random port above 1024
PermitRootLogin prohibit-password
After that, I restarted the SSH service:
sudo systemctl restart sshd
There are other things I could do, like creating a new user and adding it to the sudo group, but for now, I think this setup is enough. Anyway, I have snapshots enabled so I can always restore my system to a previous state if something goes wrong. For now, we can say that we are ready to install Coolify. There’s also a great firewall built into the Hetzner console where you can open any port needed. I skipped setting up UFW directly on the Linux machine and instead, I am using the one integrated in the Hetzner console. I guess two firewalls would be overkill for now.
Coolify Setup
Run this in the terminal:
curl -fsSL https://cdn.coollabs.io/coolify/install.sh | sudo bash
This is how it will look after installation:
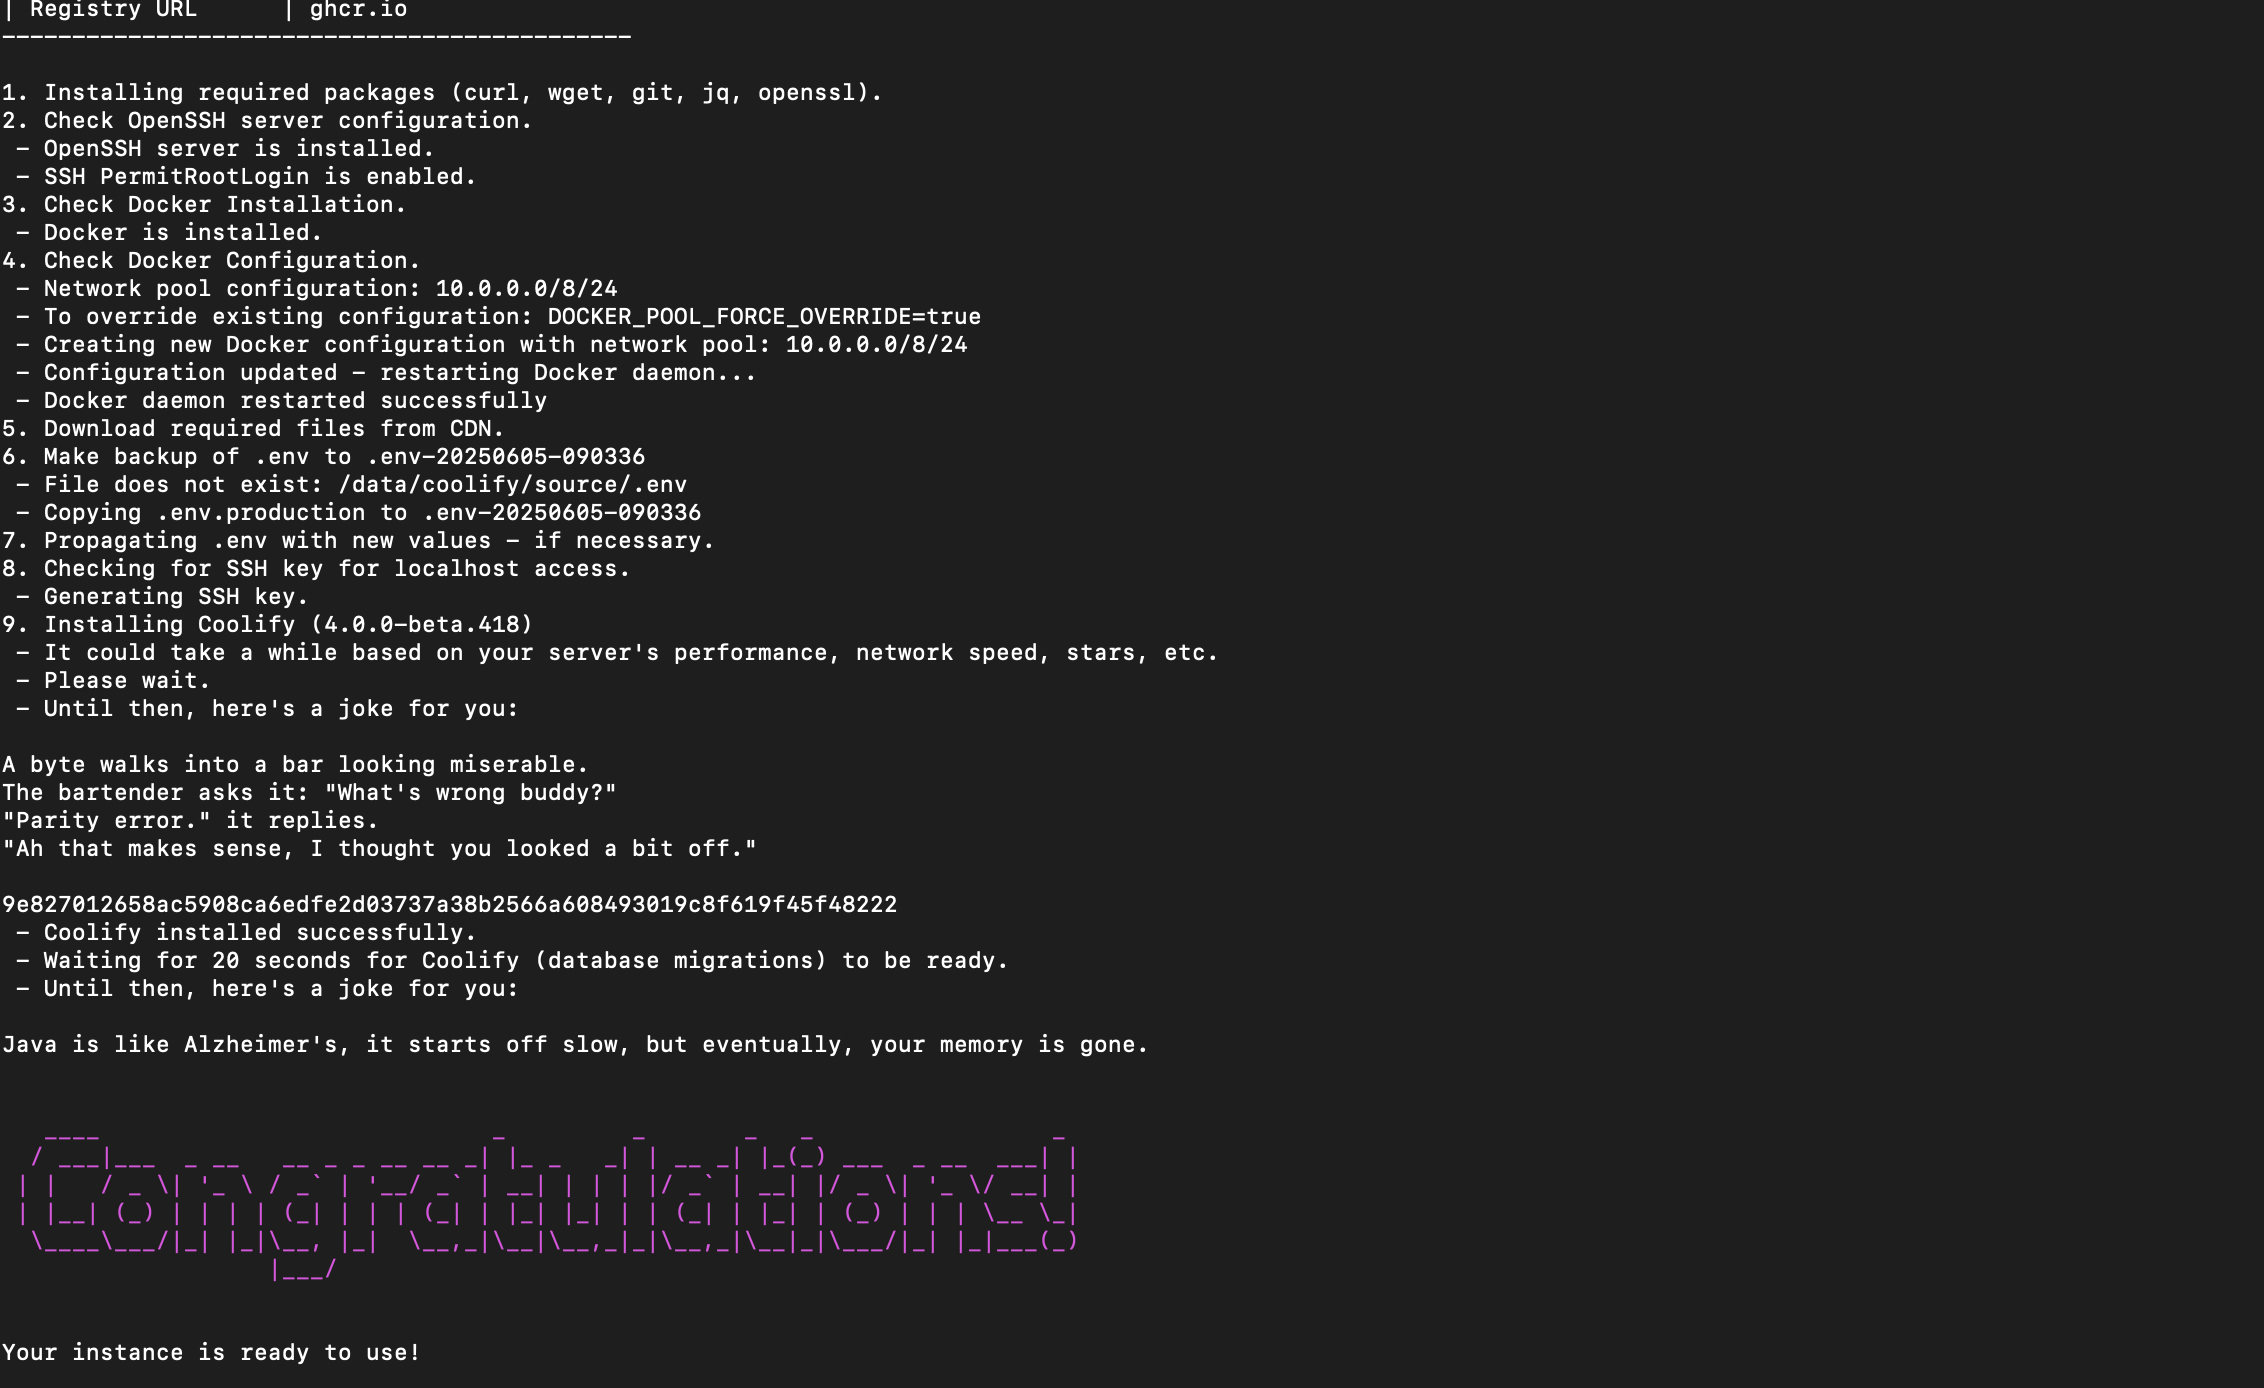
After that, you need to follow the onboarding steps and create an admin user, and then you can access Coolify at http://<your-server-ip>:8080
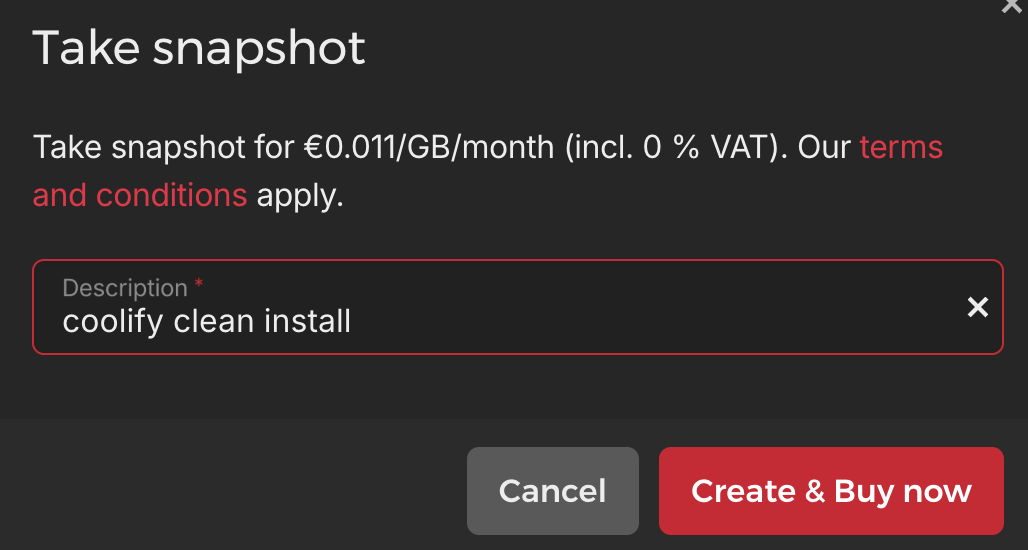
Now for the sake of not breaking anything, I used a neat feature of Hetzner to create a snapshot backup that I can restore anytime:
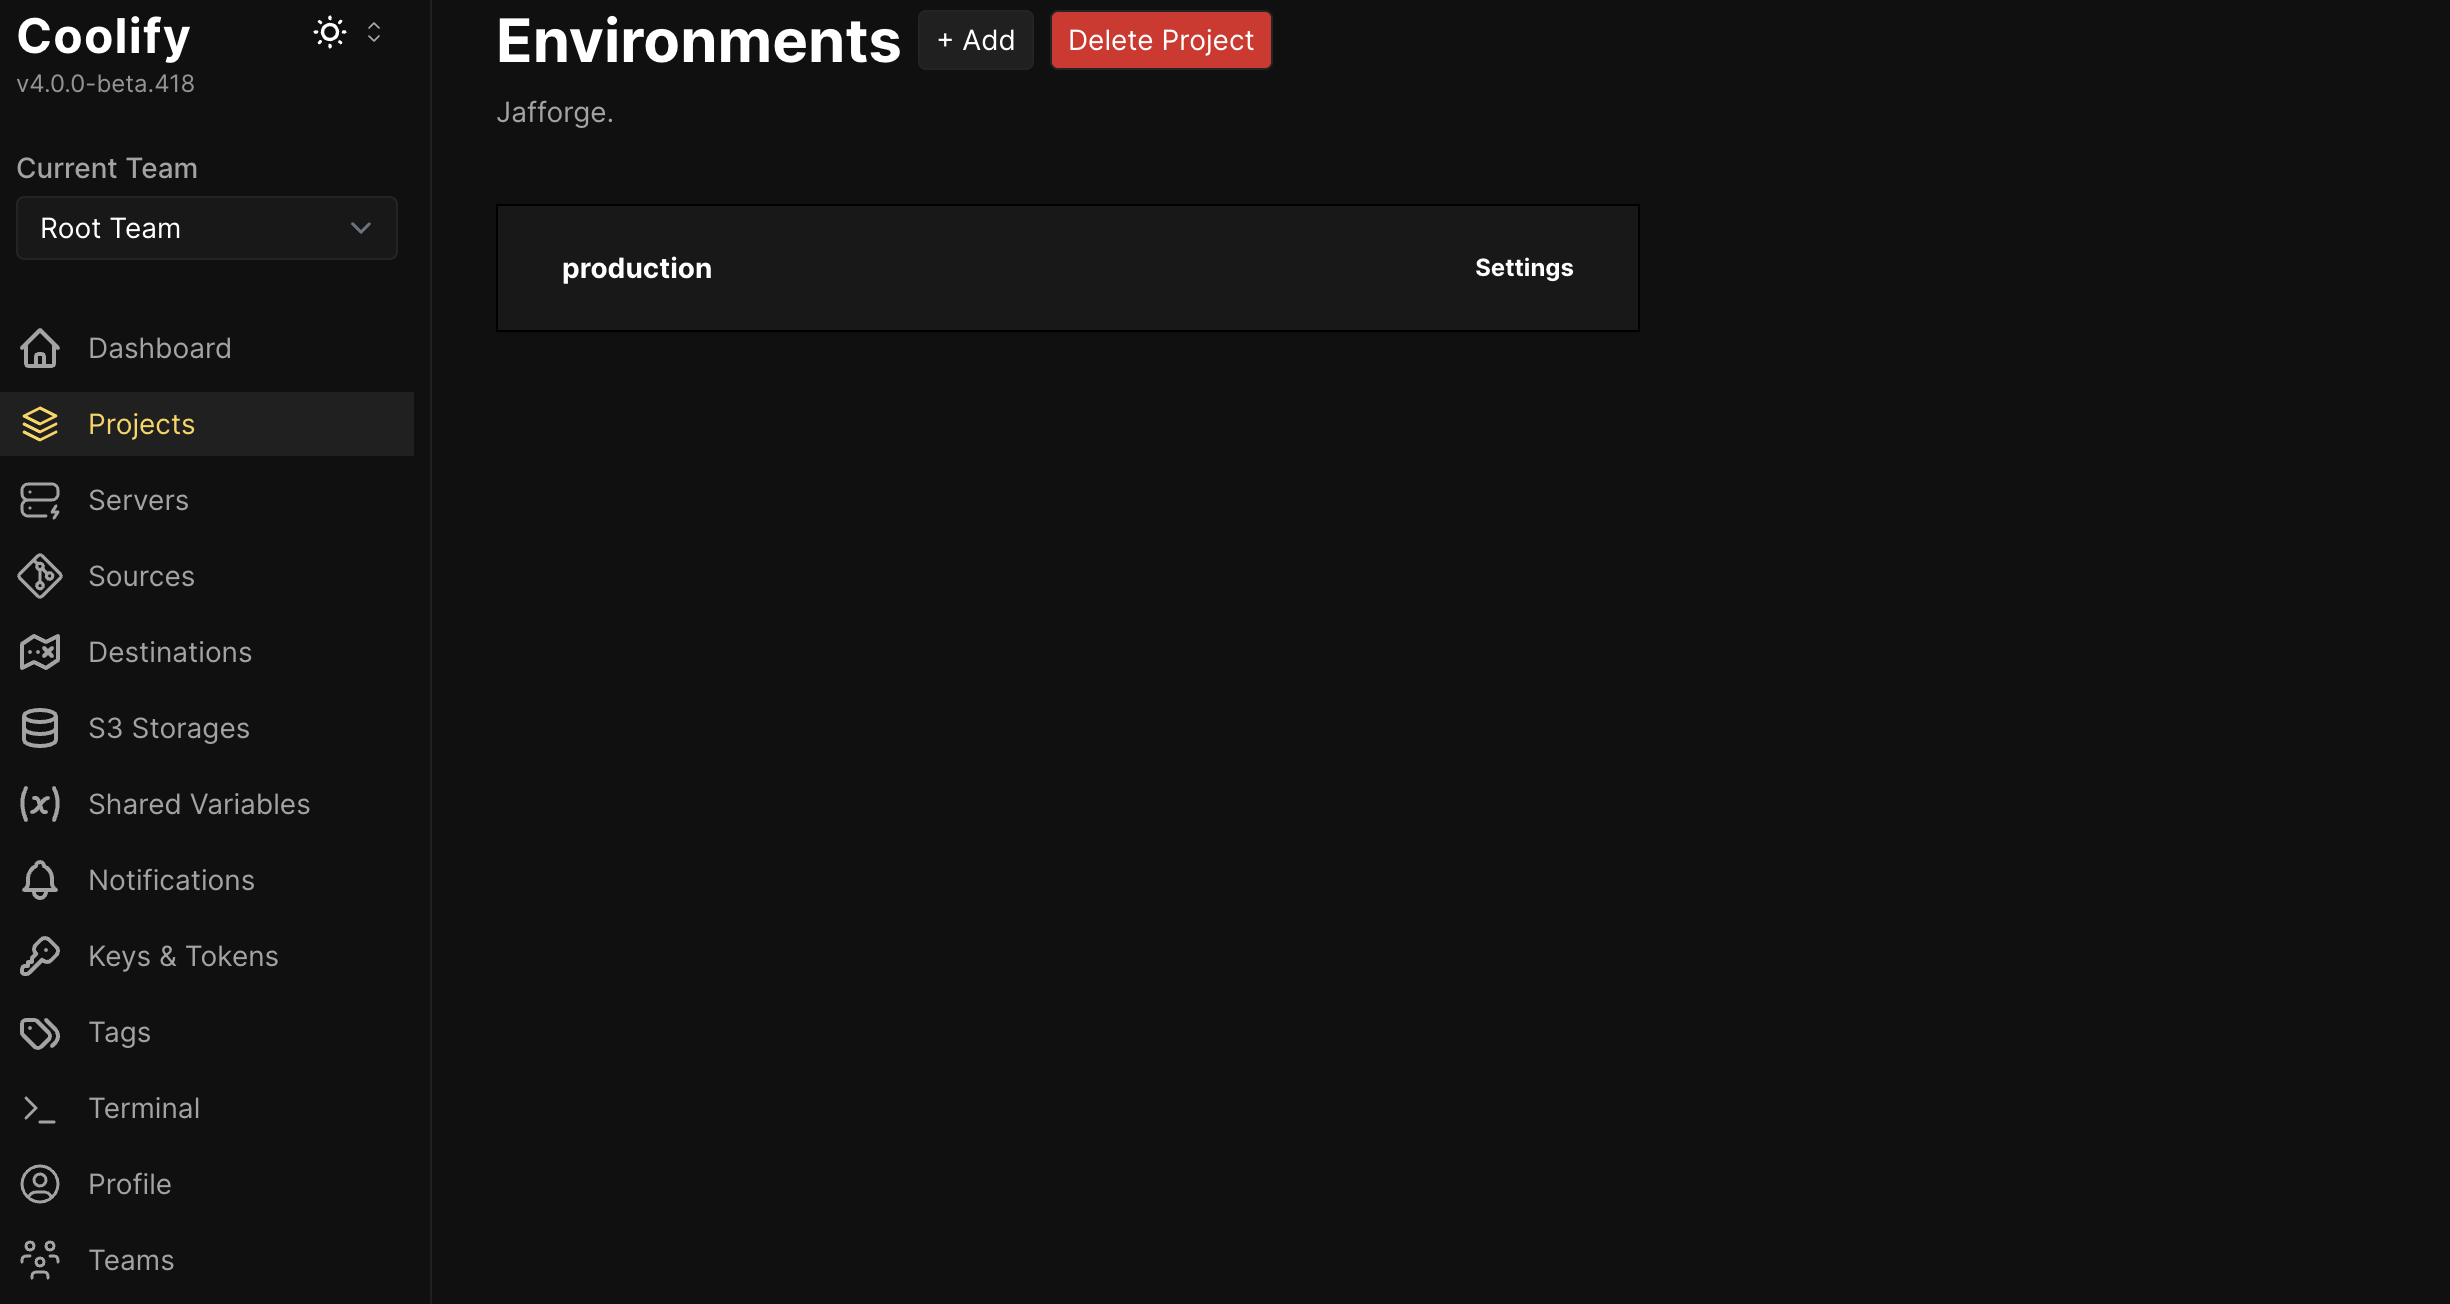
P.S. I also added a custom domain to Coolify and enabled 2FA (I am really surprised that they have 2FA available for free). Also, Coolify is handling free SSL certificates for your domain and automatically renewing them.
Basically, to add a custom domain, you just need to add it in Coolify under Settings/Instance Settings/Instance Domain and adjust your DNS records to point to your server IP, depending on your domain registrar.
Add an A record pointing to your VPS IP and, optionally, a CNAME if you’re using subdomains.

After that, you can access Coolify at https://yourdomain
That’s it Coolify is up and running, and you’re ready to start deploying projects. If you’re thinking about self-hosting your own apps, I highly recommend trying this setup.
Benefits
One of the things I really like about Coolify is how easy it is to connect it with GitHub. I set it up so this blog gets automatically deployed every time I push to the main branch.
Right now, I have all of this running at the same time on the same server:
-
This blog (Hugo static site)
-
An n8n instance
-
A backend app built with Spring Boot
-
A Postgres database
So in summary, Coolify gives you:
-
Push-to-deploy workflows for your code
-
Instant-ready runtimes for a wide range of languages and frameworks
-
One-click apps + managed databases
It’s genuinely everything you need for a modern self-hosted PaaS.
That’s all for now. I’ll keep sharing more as I continue building, experimenting, and learning new things along the way. Whether it’s another backend app, some automation with AI, or just a fun side project, I plan to document it here. Until the next cool thing, thanks for reading and see you in the next post!